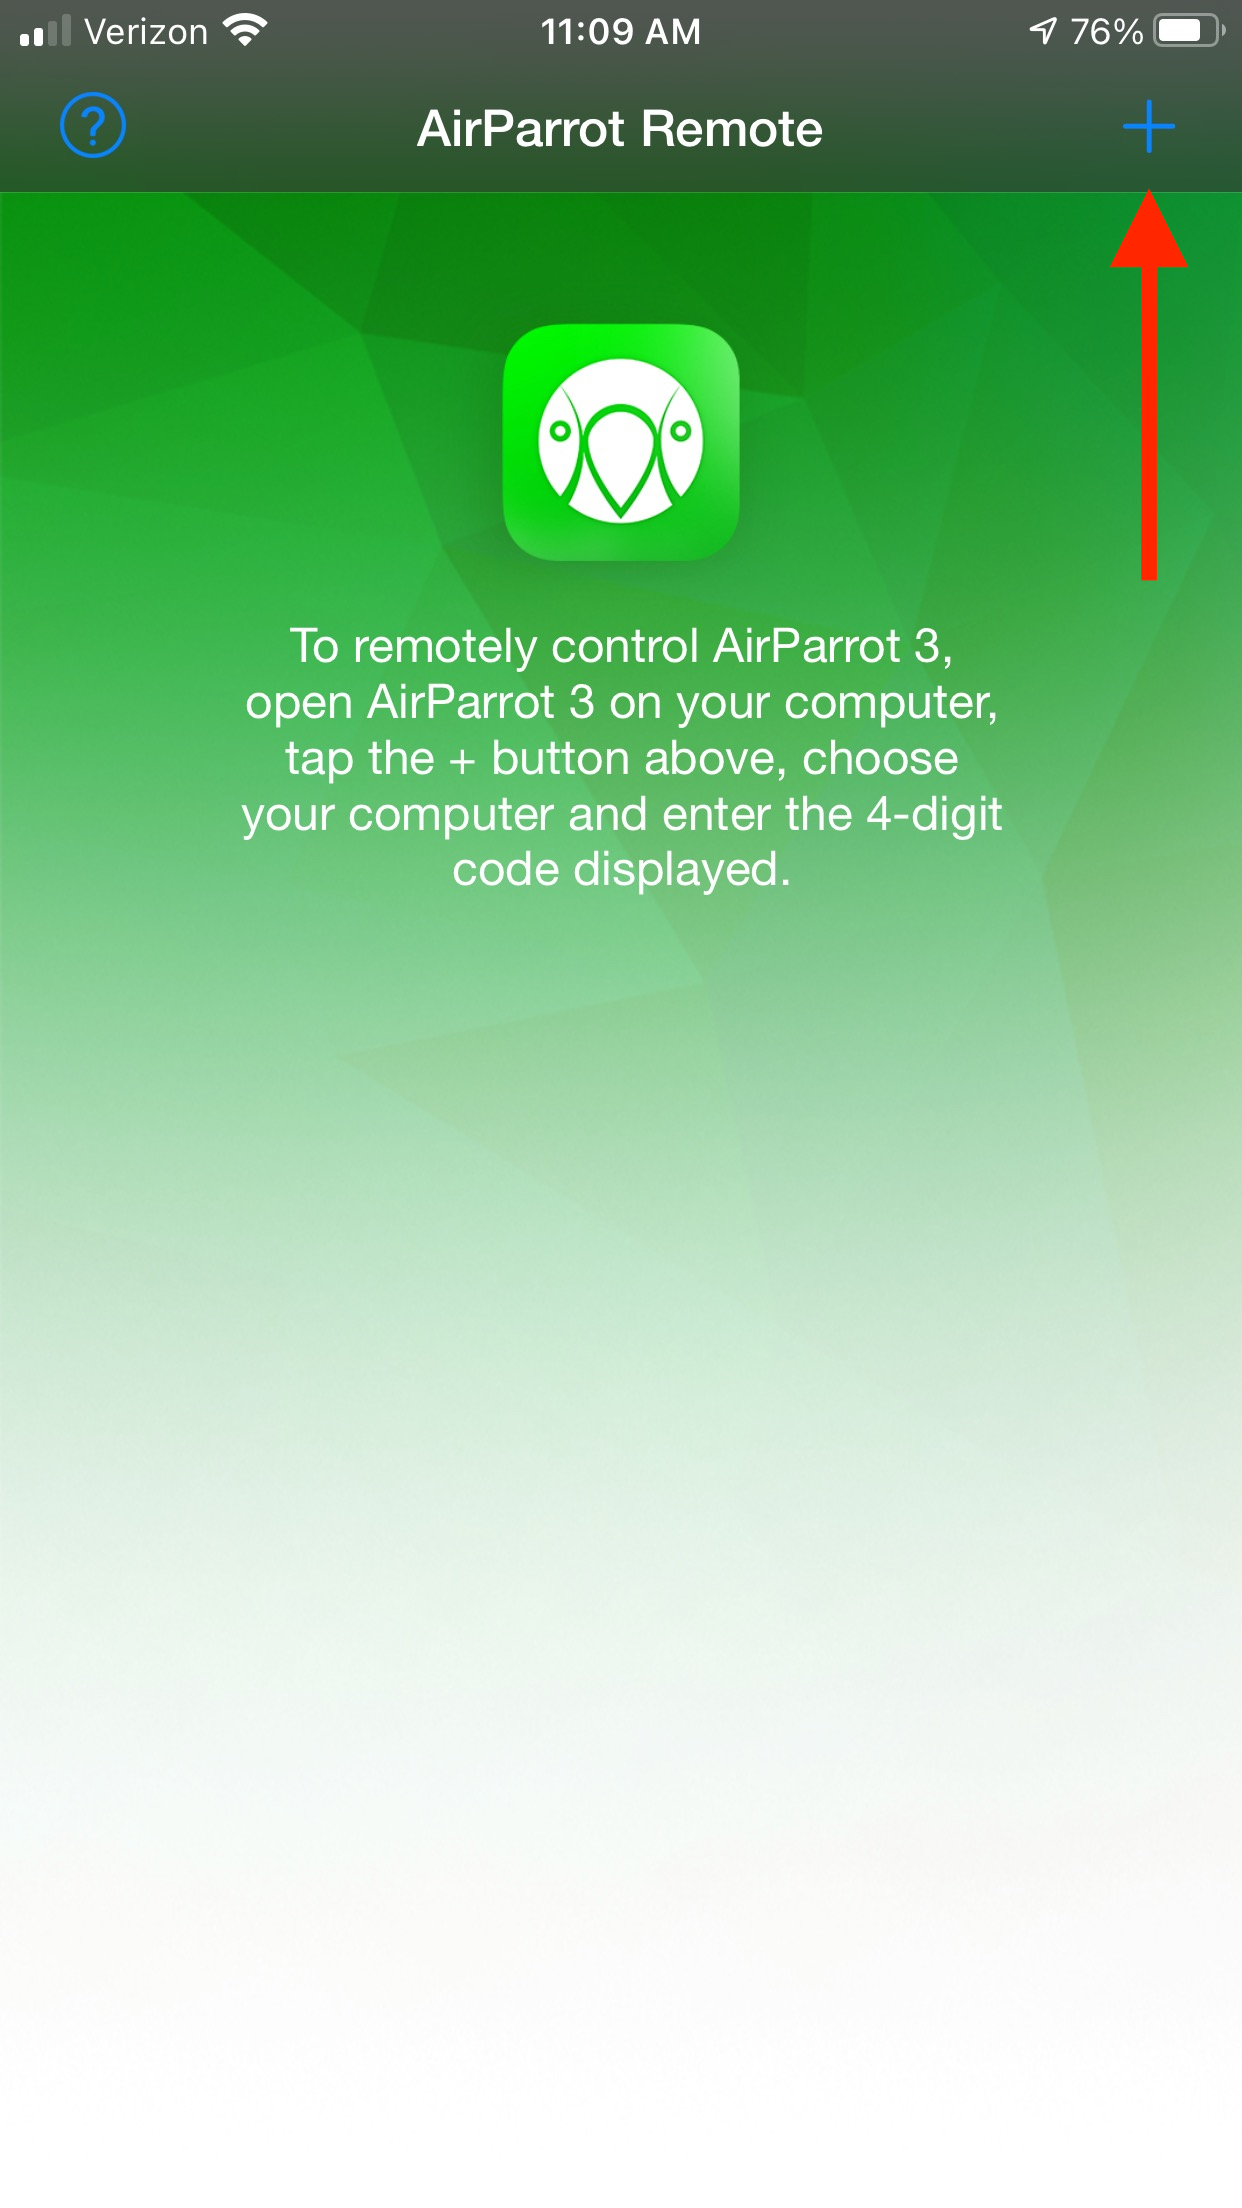
Pairing AirParrot Remote for the first time will be a familiar process if you have previously used AirParrot 3. After launching AirParrot Remote, you will see a small plus sign in the upper right corner of the screen. Ensure that your device is connected to the same wifi network as your computer and that AirParrot 3 is also running on your computer, then tap the plus sign.
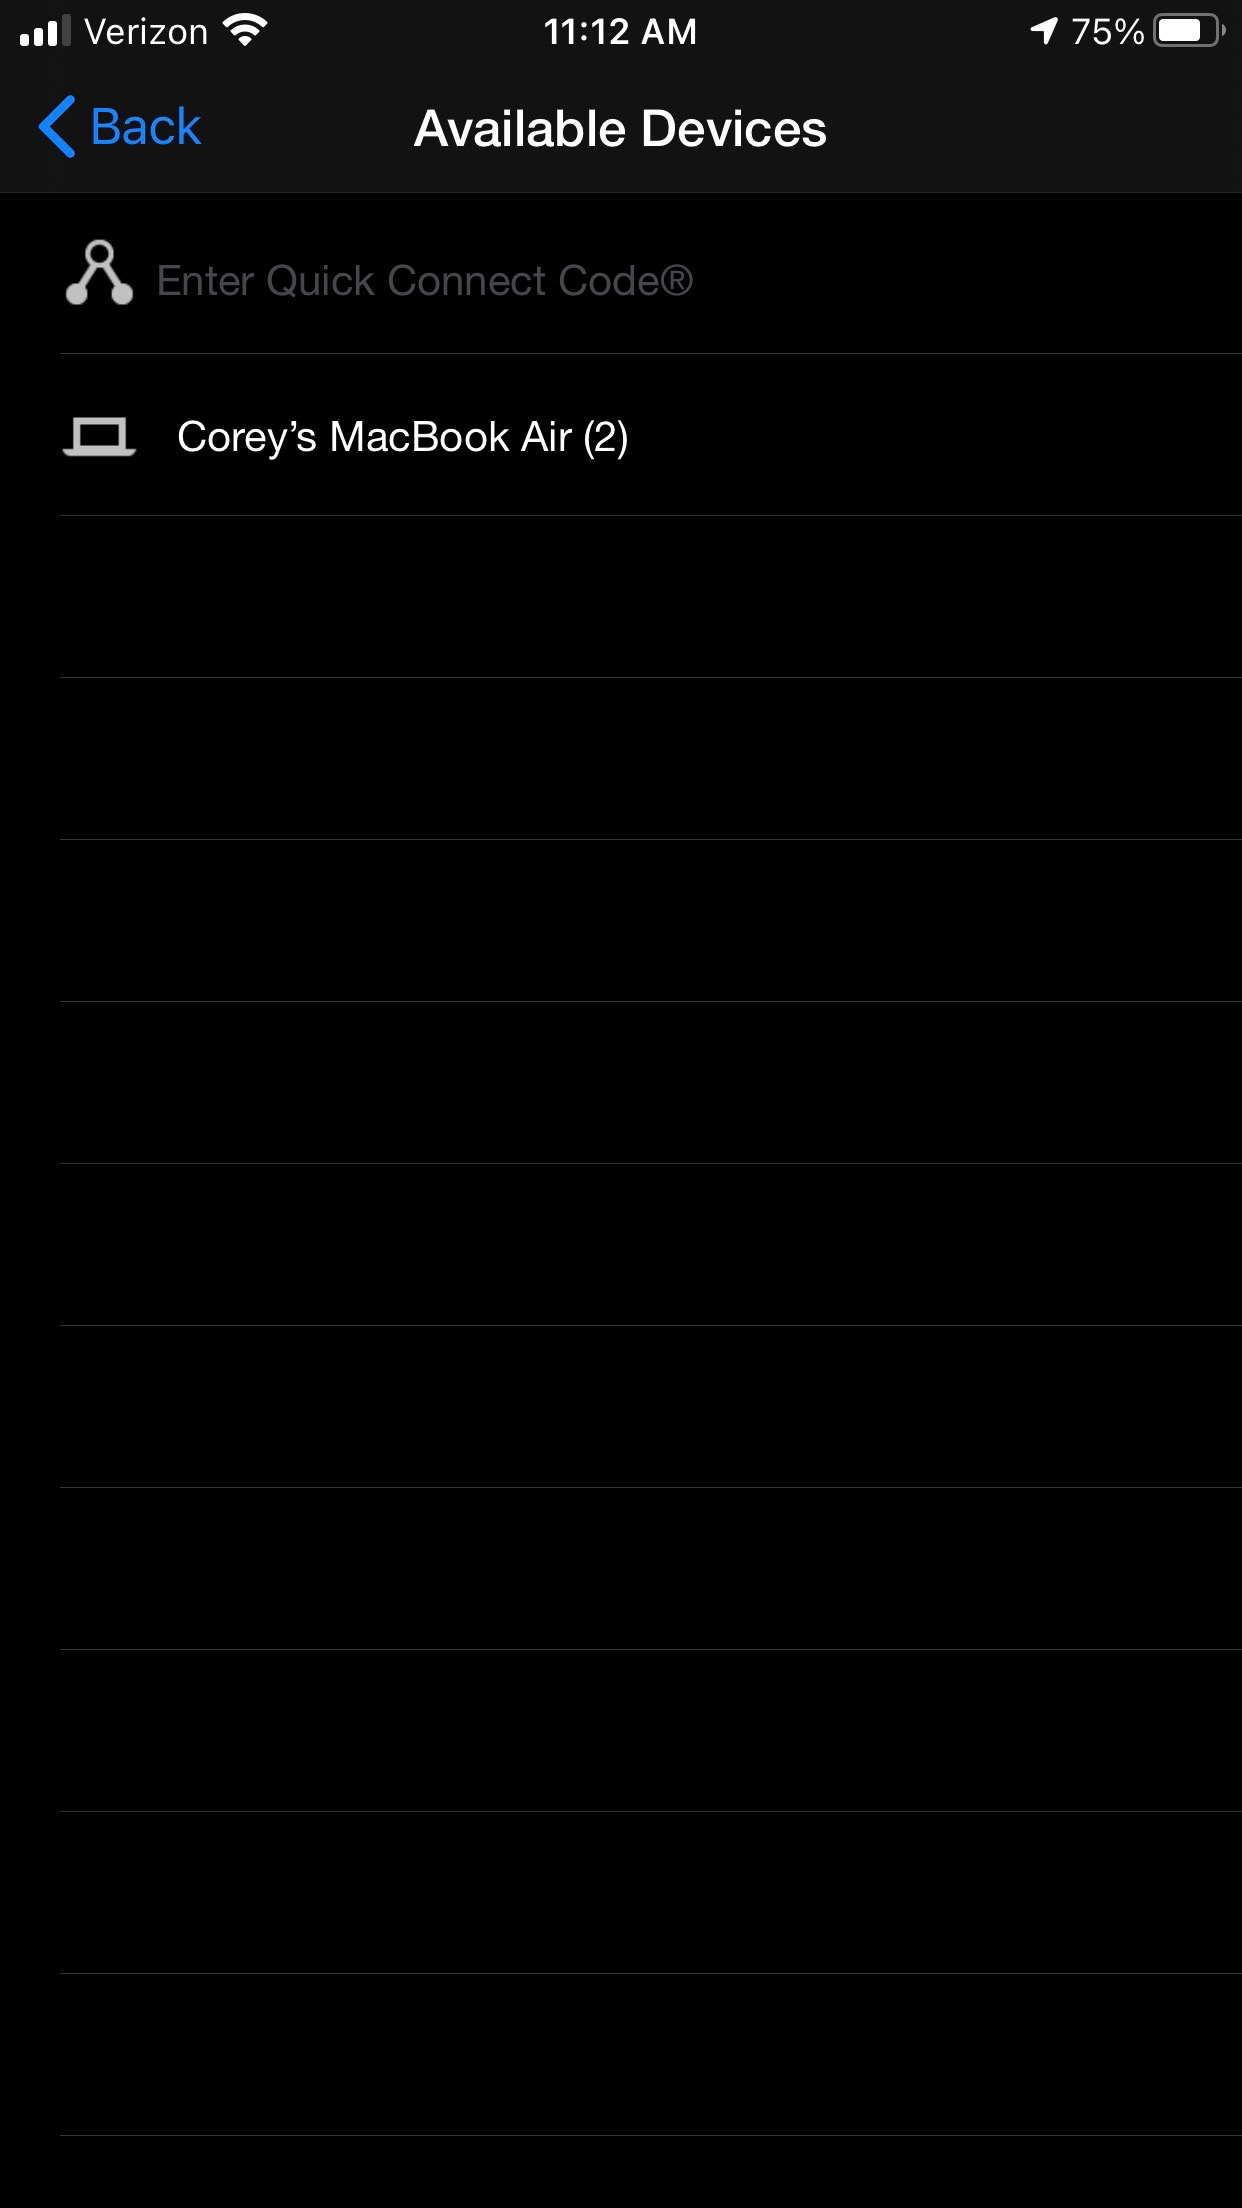
From here, you may see your computer automatically listed as an available device. Simply tap on it to pair AirParrot Remote with your computer. If you do not see your computer in the list, then you may enter the Quick Connect code or the IP address of your computer by tapping on the Enter Quick Connect Code option.
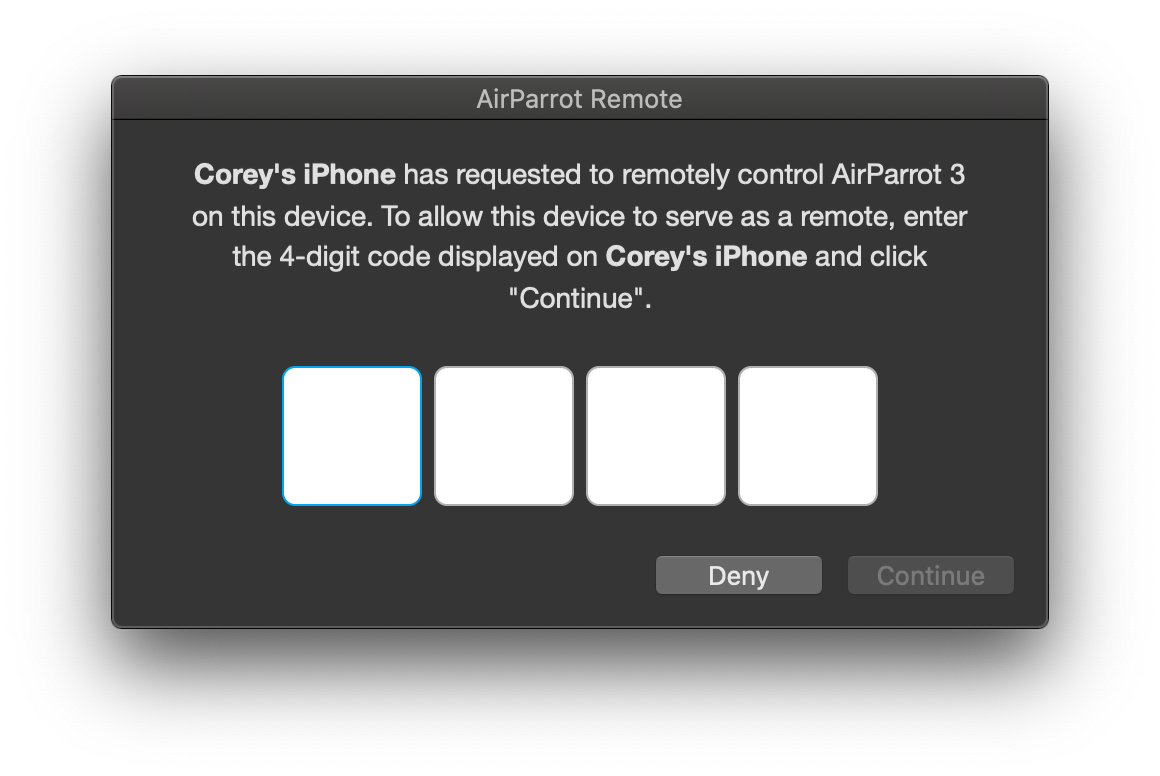
Once you have selected the computer running AirParrot, it will prompt you to enter a 4 digit code confirming that you would like to allow AirParrot Remote to control your computer. The 4 digit code will appear on your iOS device and you will need to enter this on the computer, then click on Continue.
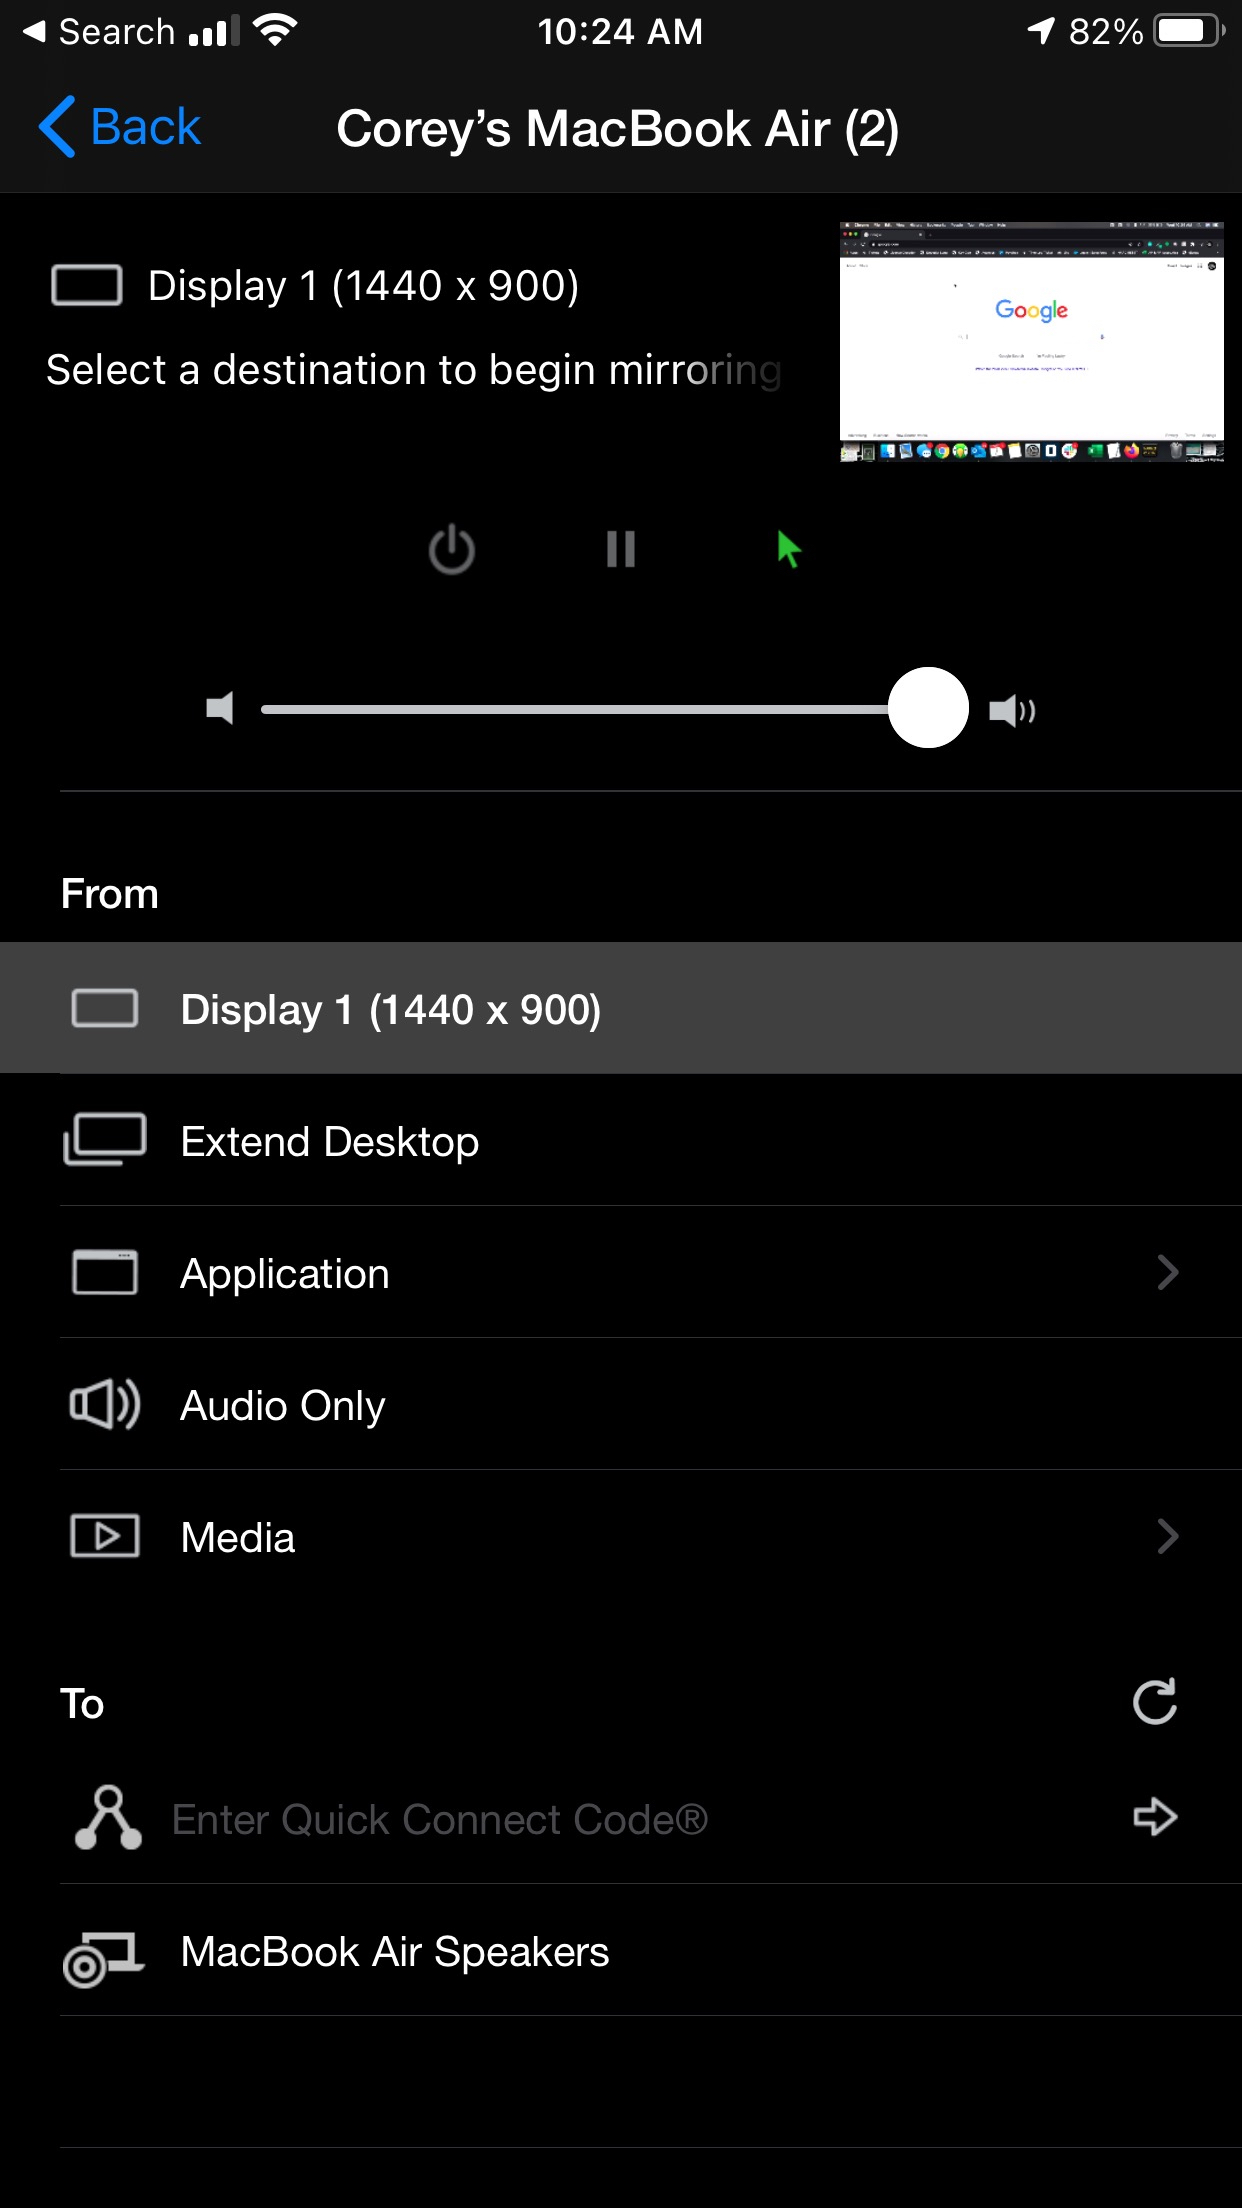
After this is done, you have successfully paired your device with AirParrot! The Remote app will look like your AirParrot menu and can now be used to control your computer